A Cleaning Drill Brush is not just another addition to your collection of household cleaning tools. It’s a game-changer. This innovative tool turns your ordinary drill into a powerful scrubbing machine, capable of tackling even the most stubborn grime. But how do you maximize its potential? Let’s delve deep into the world of drill brushes and learn how to use them effectively.
Understanding the Basics of Cleaning Drill Brush
A brief overview of what a cleaning drill brush is and its core components.
What is a Cleaning Drill Brush?
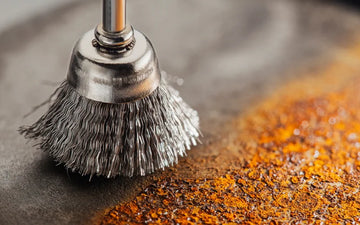
A cleaning drill brush is a brush attachment that fits into a regular drill, allowing you to harness the drill's power for scrubbing surfaces. These brushes come in various shapes and sizes, designed to reach every nook and cranny of your home.
Types of Drill Brushes
There are several drill brushes, ranging from soft nylon bristles suitable for glass and mirrors to sturdy brushes perfect for tiles and grout. The color often indicates the brush's stiffness, but it's best to check product details or reviews for specifics.
Steps to Effectively Use the Cleaning Drill Brush

A step-by-step guide to ensure your surfaces shine, free from dirt and bacteria.
Select the Right Brush
Identify the surface you want to clean. For softer surfaces like upholstery, opt for softer brushes. Tiles, tubs, and grout might require more robust brushes.
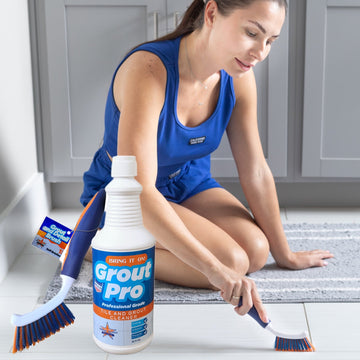
- Prepare the Surface: Wet the area with water and apply your choice of cleaning solution. For disinfecting purposes, especially in the bathroom and kitchen, use products that eliminate bacteria and germs.
- Attach the Brush to the Drill: Ensure the drill brush attachment is securely fastened to prevent any mishaps during the scrubbing process.
- Start Scrubbing: Turn on the drill and gently move the brush over the surface. Use a steady hand, ensuring you don’t apply excessive pressure, which might damage surfaces.
- Rinse and Repeat: After scrubbing, rinse the area with clean water. If stains or grime persist, repeat the process.
Safety and Maintenance Tips
Taking care of your brush ensures it serves you longer while ensuring safety.
Storing the Drill Brush
After use, clean the brush with soap and water, rinse thoroughly, and store in a dry place. This prolongs the brush's lifespan and keeps it ready for the next cleaning task.
Safety First
Always use gloves and protective eyewear. When working on wet surfaces, ensure the drill is away from direct contact with water to avoid electrical hazards.
Benefits of Using a Cleaning Drill Brush

Why every household should consider adding this tool to their cleaning kit.
Efficiency and Power
The drill brush harnesses the power of your drill, allowing for efficient and deep cleaning. This means less elbow grease and more sparkling surfaces.
Versatility
From the bathroom's tiles to the living room's upholstery, there's a drill brush for every surface. Their diverse shapes and sizes make them perfect for various tasks around the house.
Read more How to Save Time Cleaning.
Conclusion
The cleaning drill brush is not just another fad; it’s a revolutionary tool that has transformed the way we approach household cleaning. So, the next time you find a stubborn stain or grime that a regular scrub or sponge can't handle, remember you have a powerful ally in the drill brush. Clean, polish, and shine like a pro, making every corner of your home look as good as new!
FAQs
How do I clean the drill brush after use?
Rinse under warm water, use mild soap if necessary, and let it air dry.
Is there a risk of the drill brush scratching surfaces?
Soft-bristled brushes are gentle, but always test on an inconspicuous area first.
Can I use the drill brush on my car interior?
Yes, but ensure you use the right brush type and avoid excessive pressure to prevent damage.
What cleaning solutions work best with drill brushes?
Most household cleaners work well, but always check brush and surface compatibility.

